
How can you make a WAHWAH Machine yourself?
Step 1:
You need:
1 x Touch Board
1 x USB A to Micro B cable
1 x Computer running Ableton Live 9.0 or later
1x Arduino
1 x Internet connection (but you are reading this, so I guess you must have one!)
Step 2:
The programs you need:
Download Ableton (software): https://www.ableton.com/en/trial/
Download Arduino (software): https://www.arduino.cc/en/Main/Software
Step 3:
Follow the tutorial: "Connect Bare conductive board with Ableton" https://www.bareconductive.com/make/touch-board-ableton-live/
in the tutorial you learn:
- Upload the MIDI controller code to your Touch Board
- Download the Live Project
- Start it up
- Mapping
- Experiment! Changing the range and sensitivity of your sensors
Step 4:
How to use an extra board in Ableton?
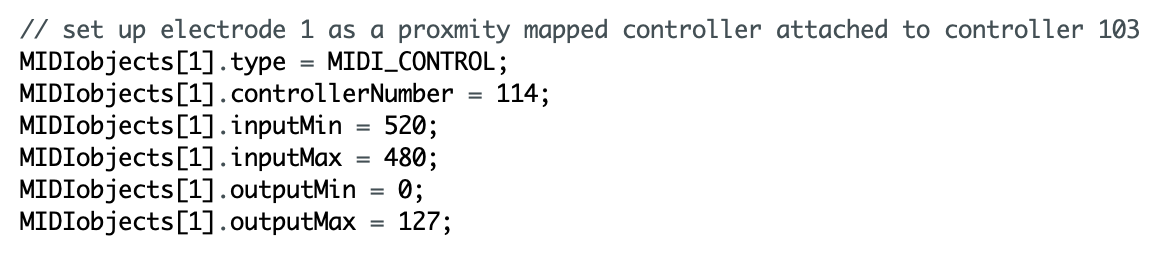
Connect an extra board with USB to your computer. Copy the code from board 1. In the code you see 10x the same code (103 till 113). Change it to 114 to 121 and upload the code. Ableton recognizes the second board as a stand-alone board. With two Conductive boards it is possible to make 20 connections.
Step 5:
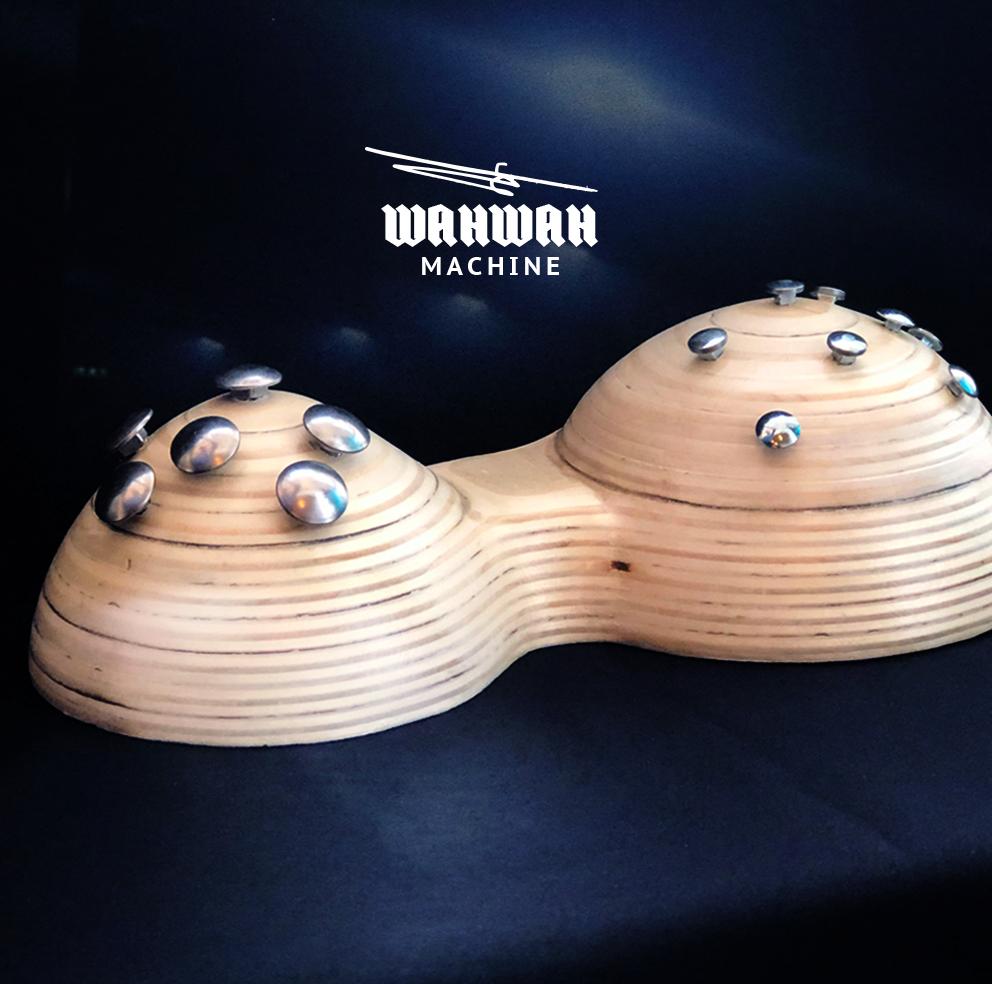
How to make it a WAHWAH Machine?
We have 8 screws connected to 8 sounds. These sounds are 8 chords of an electric guitar. On the other side of the device are 6 screws connected to pedals in the program. These pedals influence the 8 chords to get a feeling in the tones.
Step 6:
Making magic!
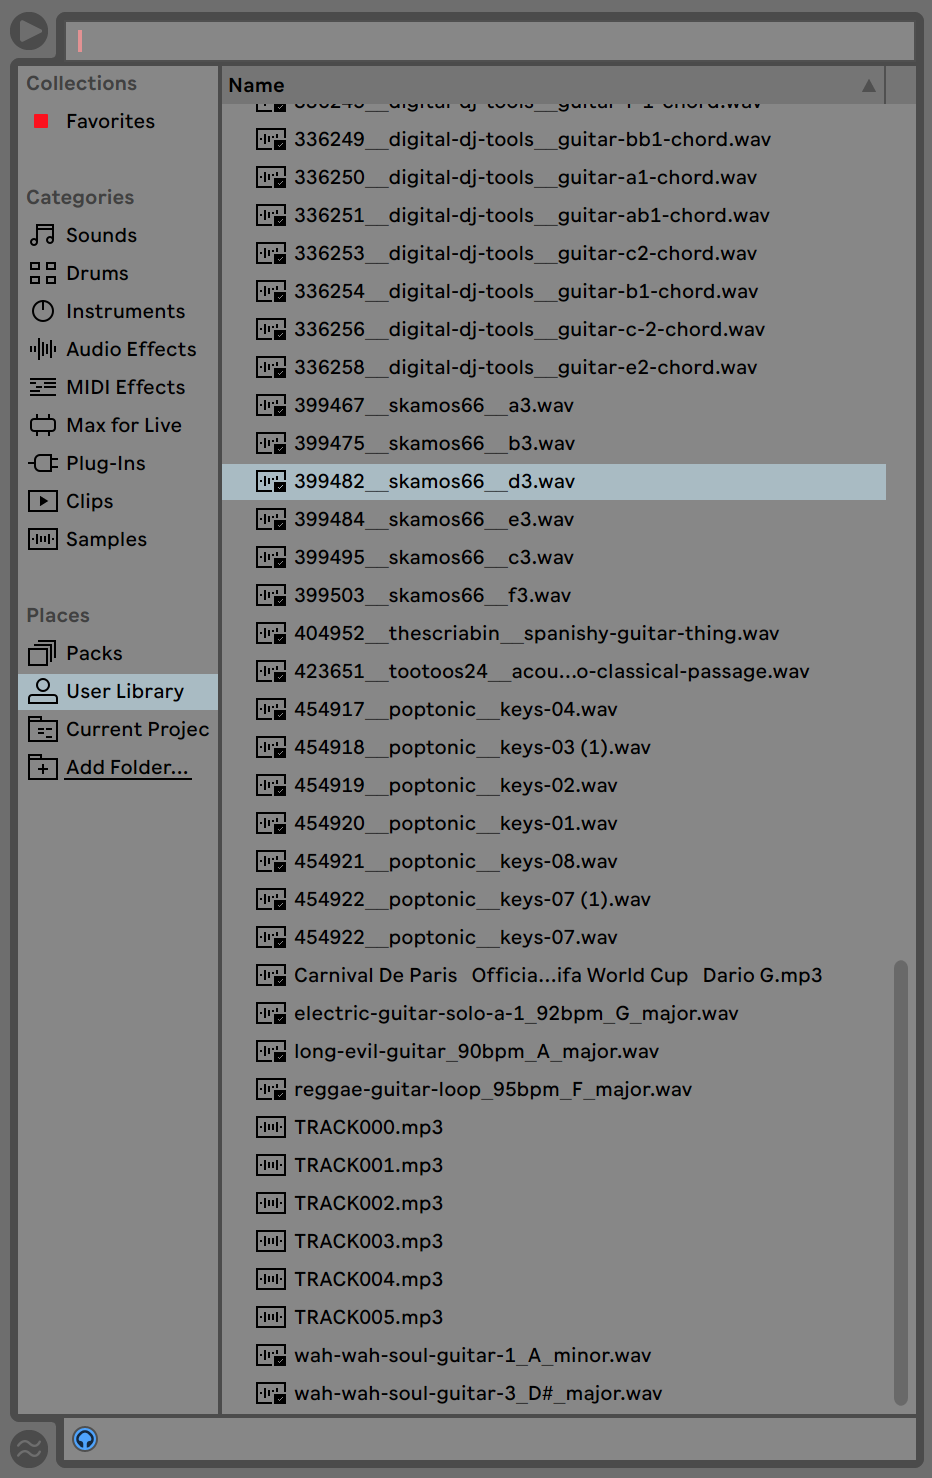
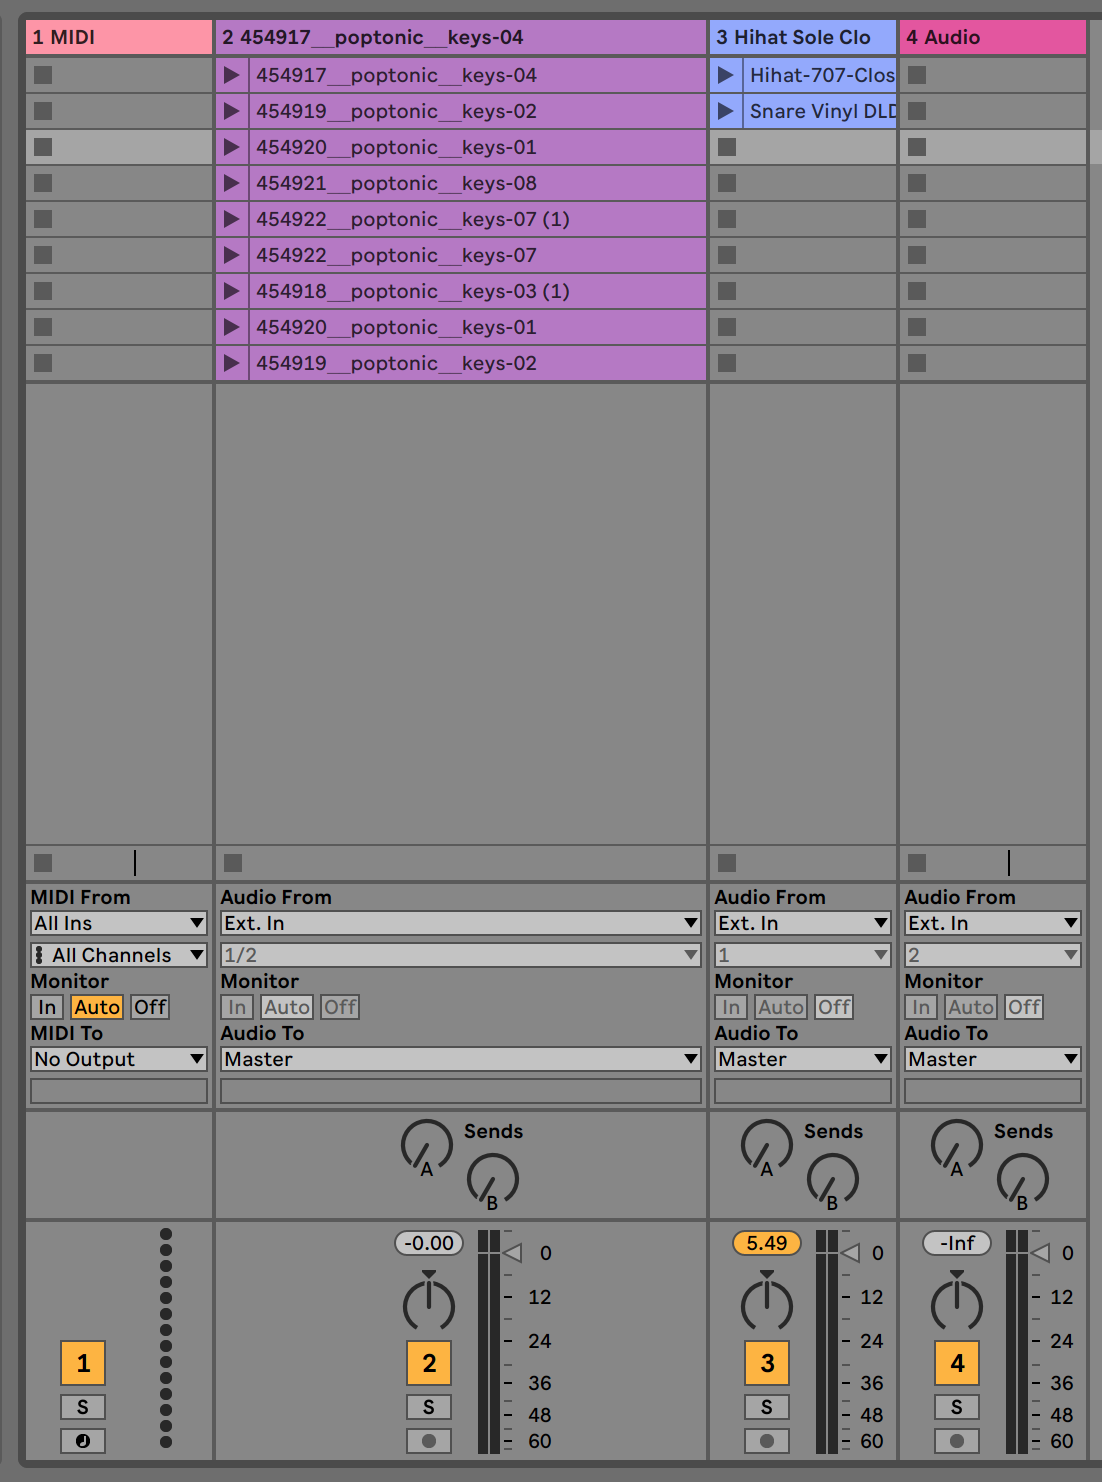
You can use your own sounds by dragging them here:
Then drag the sounds to the workspace:
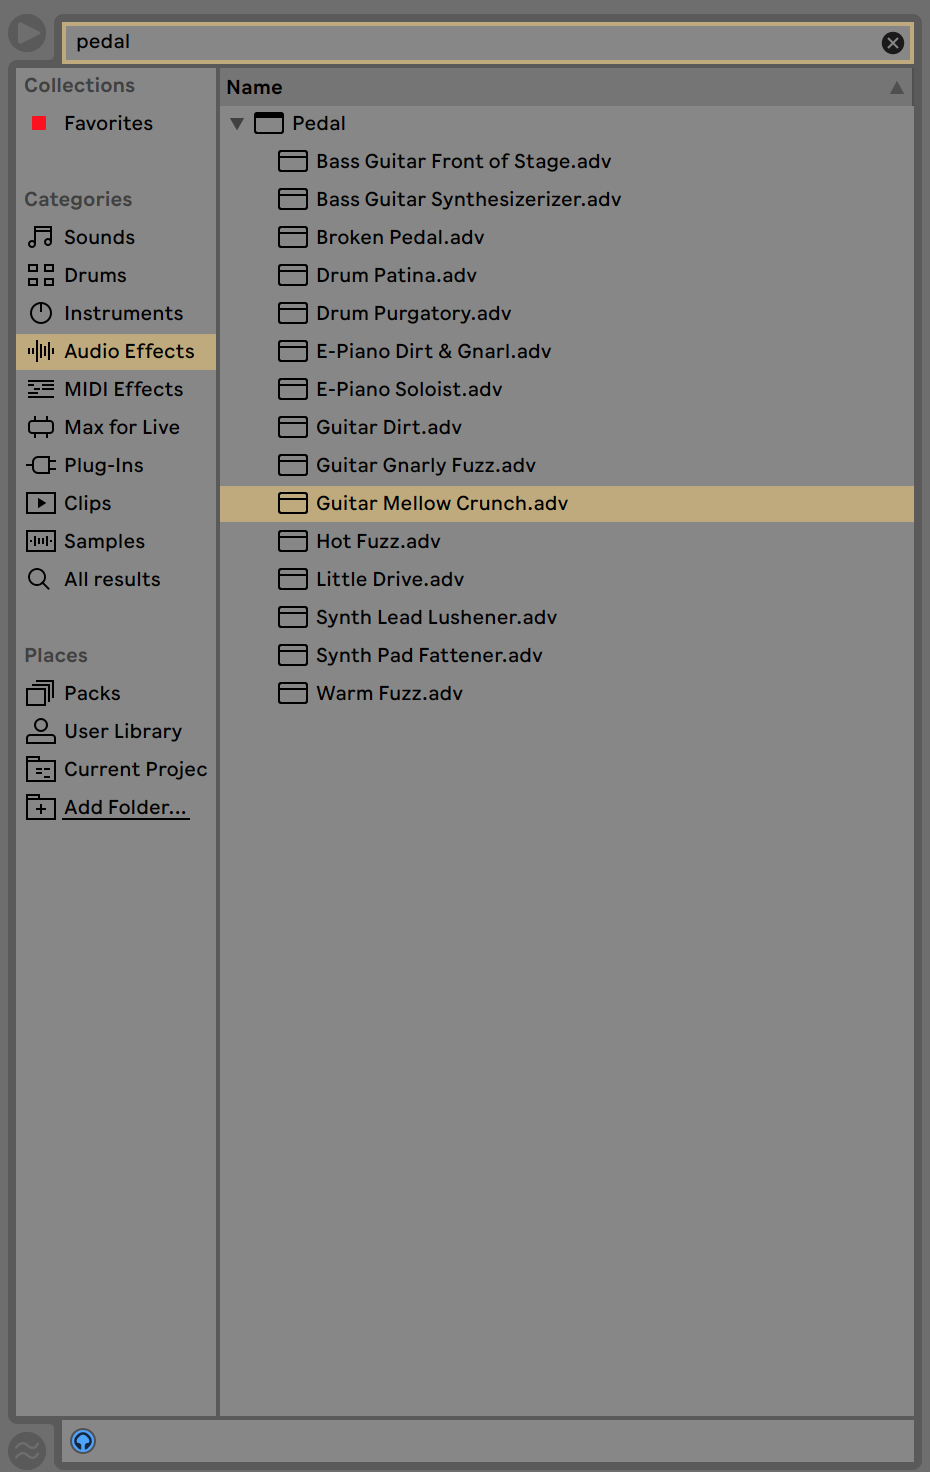
Search for pedals:
The pedals can be found here:
Click Midi right on top:
Connect the wires to the sounds and pedals:
Use your own magic to make your own DIY Midi:
If people have used this tutorial, please share your findings with us. For questions or help you can always contact us. Together we are strong!
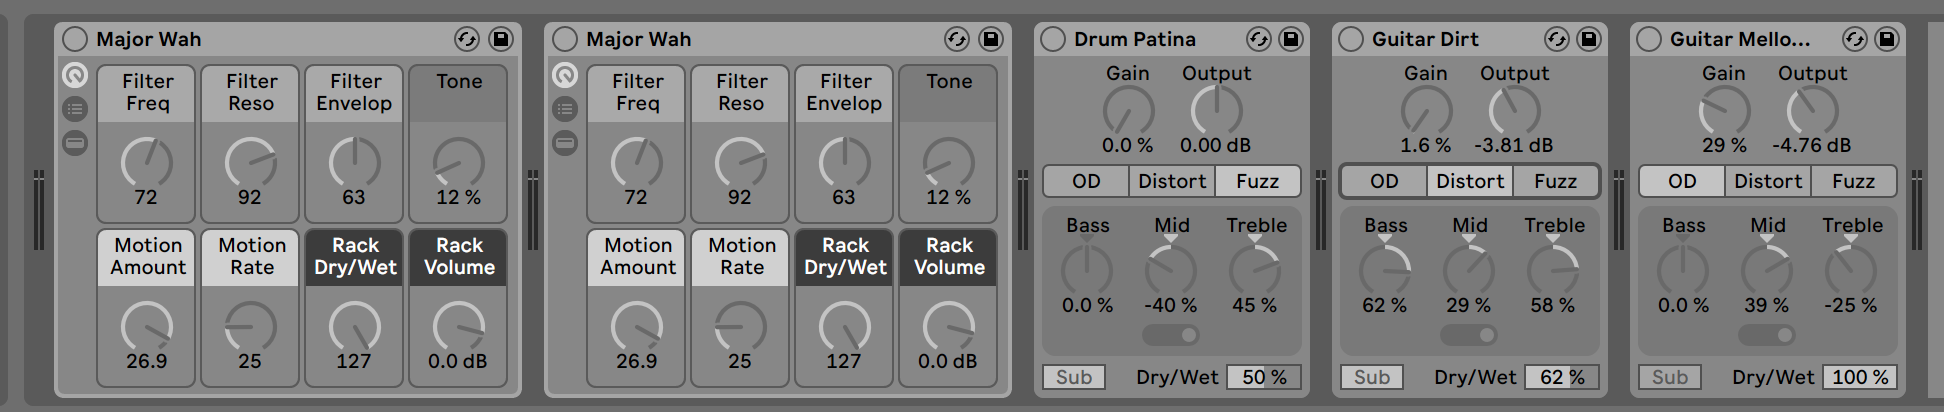

Note: Connect the pedals to the grey circle left on top thats the on and off button
Note: We can also download some pedals online. We just used this ones
Note: (same layer) When another sound is clicked on, the other one stops.
Note: You can drag them in from your finder / my computer.
Note: The code. On the top line you can see that this was the old 103 and now i put 114 on controllerNumber to make it a second board
Note: When you click MIDI every purple button could be linked with a wire
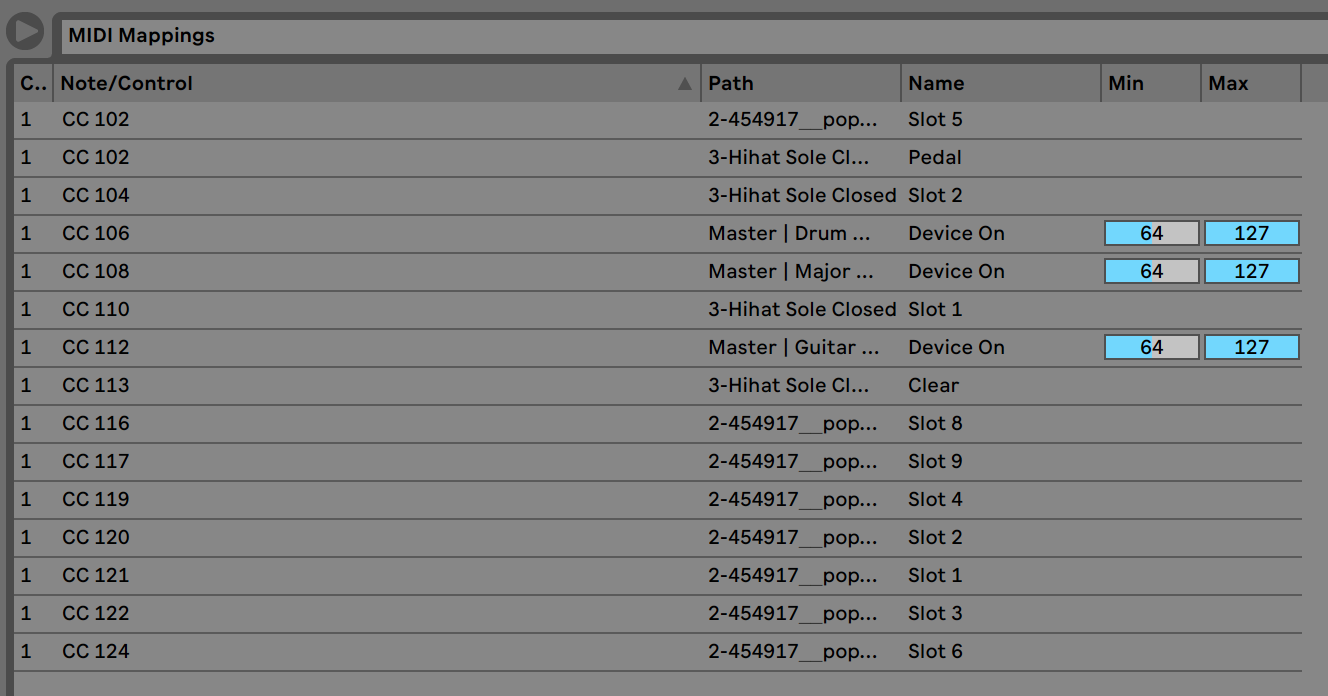
Note: This is the feedback you got from the MIDI linking part. If you look at the Note/Control you can see your code made with Arduino and which action you gave it.